


Let's Make Some Sourdough! Part 2 - Starter Recipe!
- Brittany Bartel
- Sep 29, 2024
- 6 min read

Updated: Dec 5, 2024
What better way to start a starter post than with where it all started!
As mentioned in previous posts, I have loved watching people cook and cooking (myself) since I was young, baking on the other hand, not so much. I hated the precision of baking, I hated having to follow a recipe exactly or be doomed with flat cookies or dry cake. However, I had always wanted to bake bread. The smell of home-baked bread straight from the oven is hard to beat, I also swear this is how Subway sandwich shops get people in the door. So, I bought a bread machine. Its a pretty cool little machine, takes a lot of the hard work out of making bread but the bread wasn't sourdough and sourdough is mine and my husband's favorite bread.
At this point, I had tried making my own starter a few times, even bought pre-made starter on Etsy (that's an option!) and failed to grow my starter. I had basically given up. The starter failure in combination with a new bakery near us making the best sourdough I ever tasted, made me fairly complacent with my starter failure... that is until the bakery closed.
I had no choice but to figure it out, I had to make my own sourdough.
So I did what any sane person does; I turned to Reddit.
Ah, Reddit, my wise BFF, teaching me everything from gardening tips, basic life tips (these are not to be taken too seriously), to making bread.
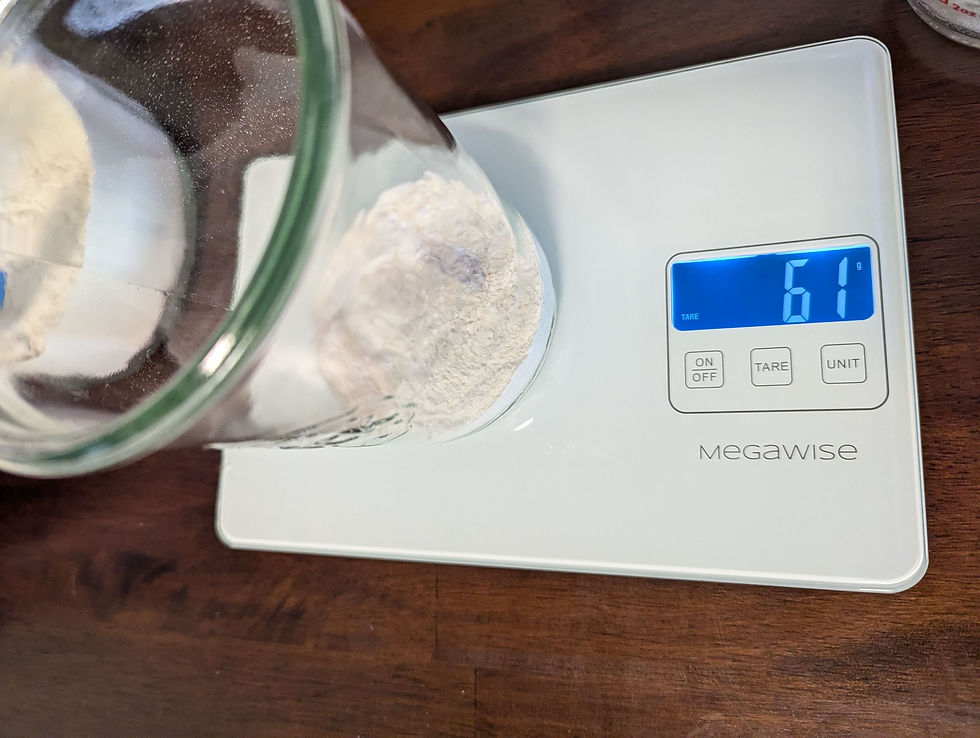
I quickly found out everything I had been doing wrong with my starter. First, keeping our house at 63°f was not conducive to the fermentation environment yeast and bacteria need to grow - I had basically forced my starter to hibernate. Secondly, I wasn't weighing ingredients, I figured I'd been cooking long enough, 'I can eyeball it!' Um, no, not for this. I fixed those two things and my starter became the bubbly, tangy goodness needed to make sourdough!! I was thrilled!!
Now here we are, Autumn has begun and the nights are starting to turn chilly, time to begin my second cold season sourdough baking journey.
Lets dig into what sourdough starter is; sourdough starter is fermented flour and water, this is what is used to make your bread rise. Think baking powder, baking soda or instant yeast... Same function just in its natural form.
Starter is a living culture that needs to be fed to be kept alive. The first week in creating your starter is the most intense, after day two, it requires daily feedings. For us millennials that had Tamagotchis, think of it like your Tamagotchi! (You could also think of it like your children or a pet, but Tamagotchi sounds much more fun!)
Equipment
(refer to Let's Make Some Sourdough! Part 1 - Sourdough Starter Kit! for links to all this equipment)
Mason jar
Fermentation mat
Popsicle sticks
Towel
Glad Press 'N Seal
Rubber band
Ingredients
Flour (All-Purpose/Whole Wheat/Rye)
Water

Day 1
Mix 60g flour and 60g 85°f water in a mason jar. If using Rye flour, you might need a little more water as Rye is very dense.
The consistency should look/feel like peanut butter.
Cover with Glad Press 'N Seal and poke some small holes.
Very similar to when you were a kid an caught a bug and put it in a jar, they need air!
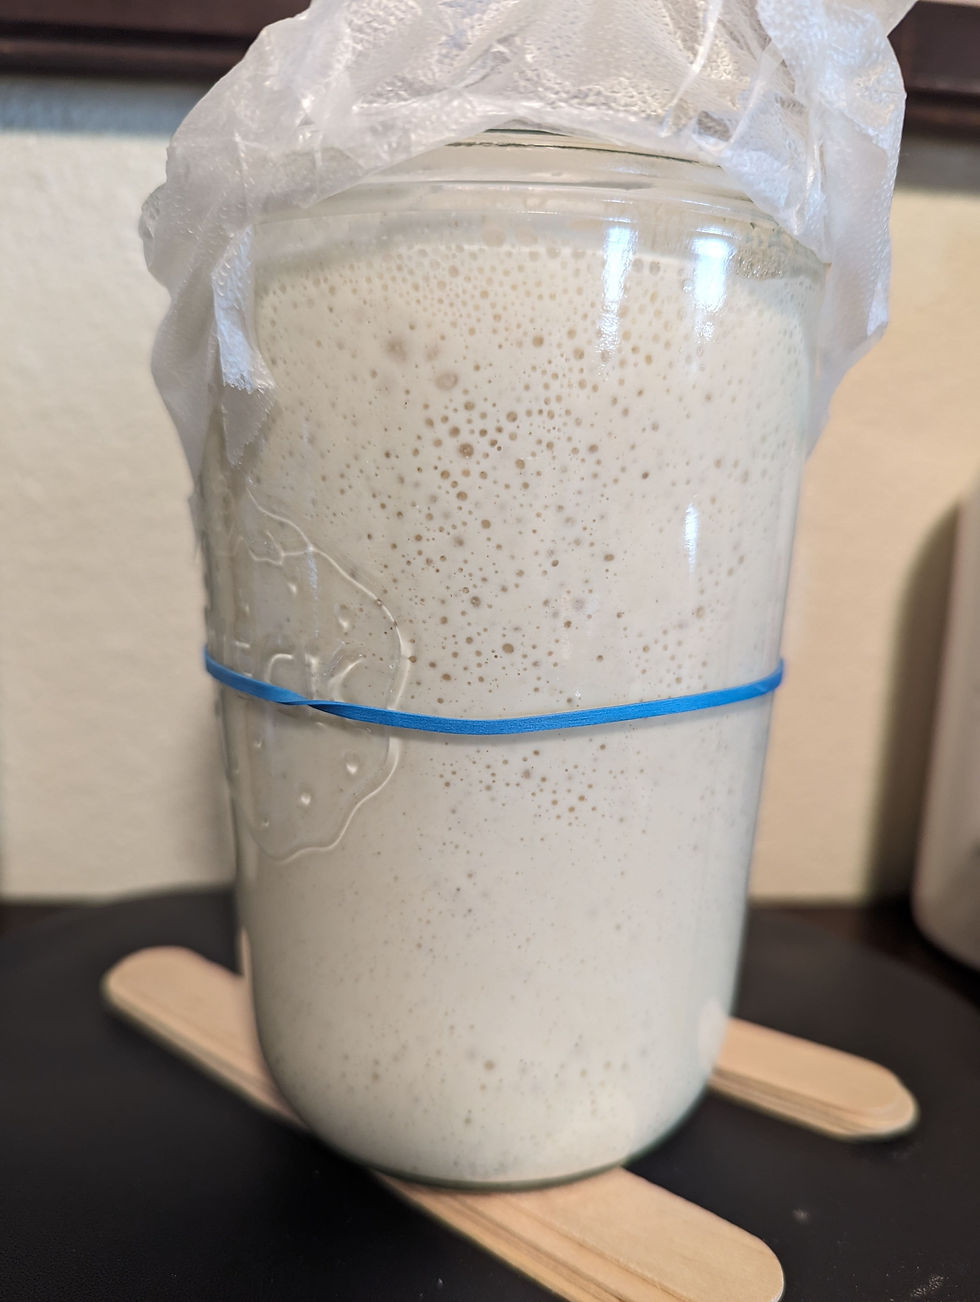
Put a rubber band around the jar marking where the starter is in the jar.
Place the jar on some popsicle sticks, on your fermentation pad, wrap in a towel and sing it a sleepytime lullaby.
This part is not necessary but I love to make up random songs and sing.
Tips and Tricks
Warm water will get you further faster! I put 3/4 cup of cold water in the microwave for 20 seconds and I use a thermometer to check temp before mixing.
If you keep your home fairly warm, 80°f+, you might not need a fermentation pad.

Day 2
Nothing!
No action required other than marveling at your sweet baby jar of yeast and bacteria.
There might be bubbles at this stage, if not, don't cry, its still early stages!
Day 3
Remove and discard 60g of your starter from the jar, easiest way I have found to do this is to pour from your current jar into a fresh jar on the food scale (use the Tare function on the scale!). You started with 120g, you are now pouring out half.
If you are a Pinterest junkie, you've likely heard the term "sourdough discard" before, once your starter is established, you can either throw away this discard or use it in recipes for a tangy twist! Think sourdough pancakes, waffles, banana bread, etc.
Add to your jar with 60g starter, 60g flour and 60g of warm water and mix + scrape down the sides.
Add your Press 'N Seal, poke holes, rubber band, popsicle sticks and tuck her on in for 24 hours.
Day 4
Remove and discard half of your starter (90g) from the jar.
Add to your jar 60g flour and 60g more of warm water and mix + scrape down the sides.
Add your Press 'N Seal, poke holes, rubber band, popsicle sticks and tuck her on in for another 24 hours.
Don't give up!!! It is normal for your starter not to be rising daily at this stage. You may even see a liquid forming, this is called "hooch", it is normal, stir your starter to incorporate before discarding.
Day 5
Remove and discard half of your starter (105g) from the jar.
Add to your jar 60g flour and 60g more of warm water and mix + scrape down the sides.
Add your Press 'N Seal, poke holes, rubber band, popsicle sticks and tuck her on in for another 24 hours.
Day 6
Remove and discard half of your starter (112g) from the jar.
Add to your jar 60g flour and 60g more of warm water and mix + scrape down the sides.
Add your Press 'N Seal, poke holes, rubber band, popsicle sticks and tuck her on in for another 24 hours.
Are you starting to see the Tamagotchi aspect yet?
Day 7
Remove and discard half of your starter (116.25g) from the jar.
Add to your jar 60g flour and 60g more of warm water and mix + scrape down the sides.
Add your Press 'N Seal, poke holes, rubber band, popsicle sticks and tuck her on in for another 24 hours.
Day 8
When it is ready, your starter should have doubled in size from where you put the rubber band 24 hours prior. There should be bubbles and should look almost like a sponge.
If this isn't the case, turn your feedings up a notch and feed every 12 hours - this is actually what helped me develop a stronger starter. It isn't a race and although the ingredients are precise, the timing isn't, could take 7 days, could take double that. Be patient. Keep feeding daily and discarding.
Now lets see if she/he/it is truly ready! Feed your starter, wait for it to double/triple in size, then take a small amount out and drop it into a cup of water, if it floats, its ready!
After Care
Depending on how often you plan to be baking, you can store your starter back on the mat or in the fridge.
Mat: Feed every 24-36 hours, discard 60g and feed - flour and water need to be 1:1 ratio unless you are using Rye which requires a little more water than flour.
Fridge: Feed once a week. On the day that you want to bake, feed your starter and put back on your mat, in 4 or so hours, your starter should double and be ready to bake!
Last step
It is tradition to name your starter!
Mine is named Tom Bombadil so that I can sing the The Rings of Power song to it!
Please share your starter's name in the comments!


Comments